
Have you ever wanted to make a Halloween treat that’s both spooky and sweet? I was looking for something easy yet festive when I stumbled across the idea for Jack Skellington Oreo Pops. The inspiration, of course, comes from The Nightmare Before Christmas, a movie that’s become a seasonal classic for both Halloween and Christmas fans.

This Jack Skellington Oreo Pops recipe is simple, fun, and perfect for parties or a cozy movie night snack. I had a blast decorating these little faces, and the results were just the right mix of creepy and cute. They’re also a great make-ahead treat if you’re planning a themed dessert table. If you enjoy playful Halloween desserts, these pops are definitely worth trying!

Jack Skellington Oreo Pops Ingredients List
These simple ingredients turn everyday cookies into Halloween treats worthy of the Pumpkin King:
White Chocolate – This will be Jack’s signature pale face. I used small white chocolate chips for mine simply because that’s what I had in the pantry, and they worked perfectly. If you want an even smoother finish, melting wafers or baking bars are great options too.
Dark Chocolate – Used for all of Jack’s facial features, from his hollow eyes to that stitched grin. I also went with small dark chocolate chips (like this one) here for convenience. The slightly bitter flavor keeps the pops from being overly sweet and makes the details stand out beautifully against the white coating.
Oreo Cookies – The crunchy, creamy base of each pop. Regular Oreos are perfect, but if you love a thicker bite, Double Stuf works too. Just be extra gentle when adding the sticks so the cookies don’t split apart. If you feel that your sticks are too thick, you’ll need to add more cream inside the cookie to make the stick together.
Jack Skellington Oreo Pops Recipe Instructions
Follow this step-by-step guide to bring Jack Skellington Oreo Pops to life, just like I did in my own kitchen with a little chocolate, a lot of fun, and a few messy fingers along the way.
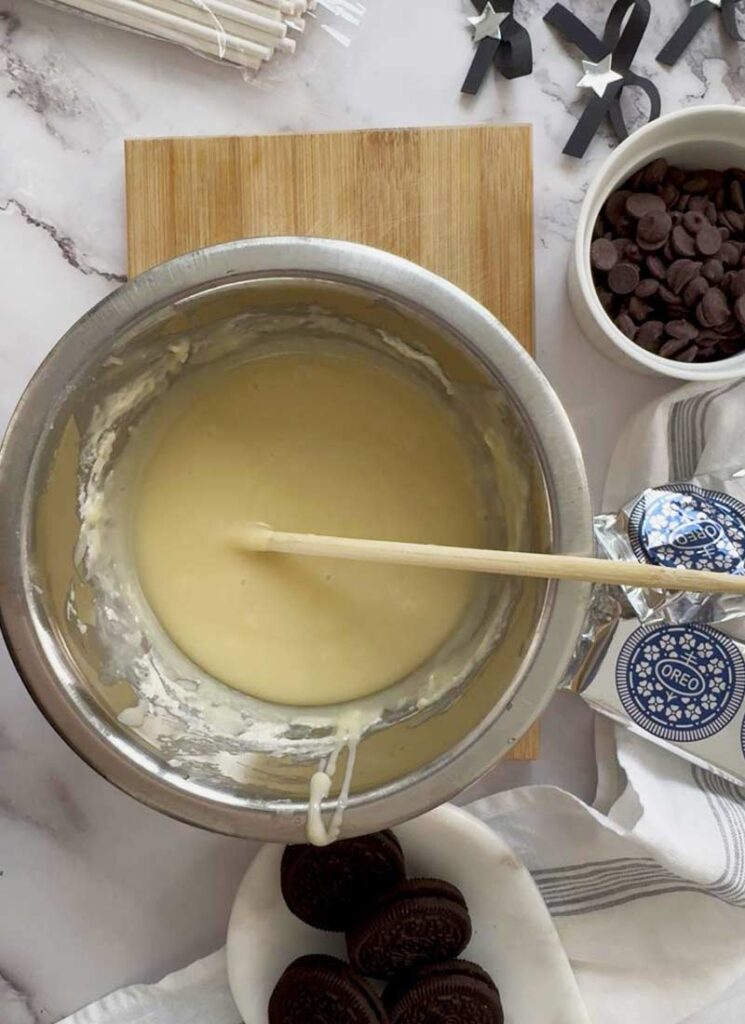
1. In separate bowls, melt the white and dark chocolate chips. Use a double boiler for more control, or microwave in 15–20 second bursts, stirring until smooth. Transfer the dark chocolate to a piping bag (or a small zip-top bag) for decorating later.
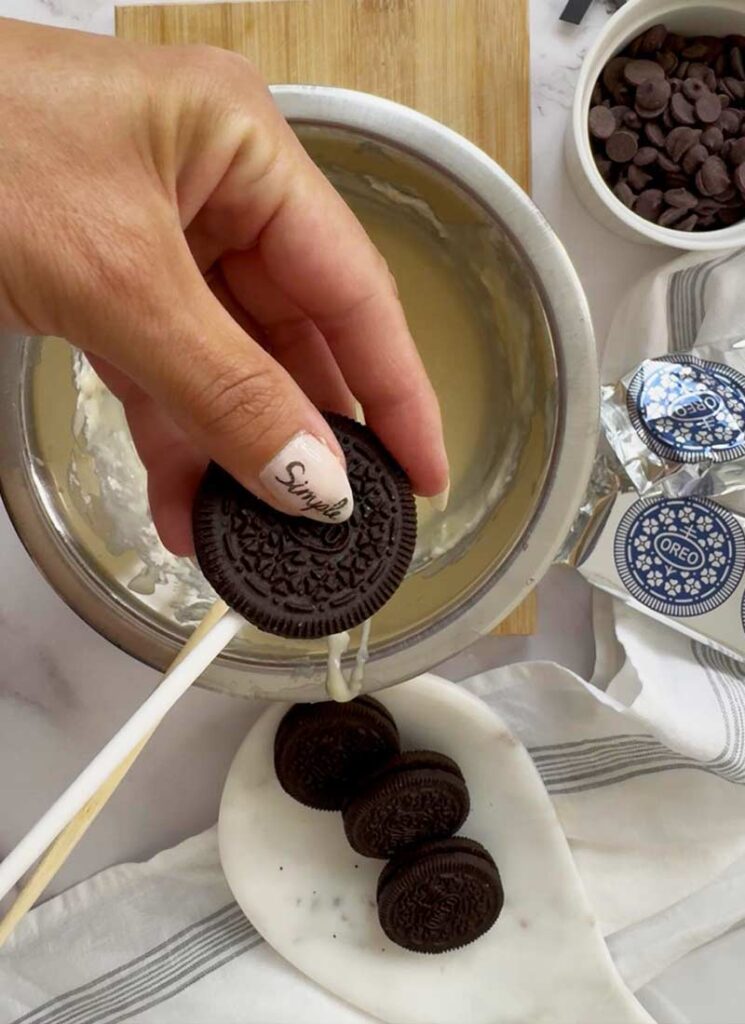
2. Carefully push a popsicle stick halfway into the cream center of each Oreo. Twist the stick gently instead of forcing it into the cookie to keep from cracking.
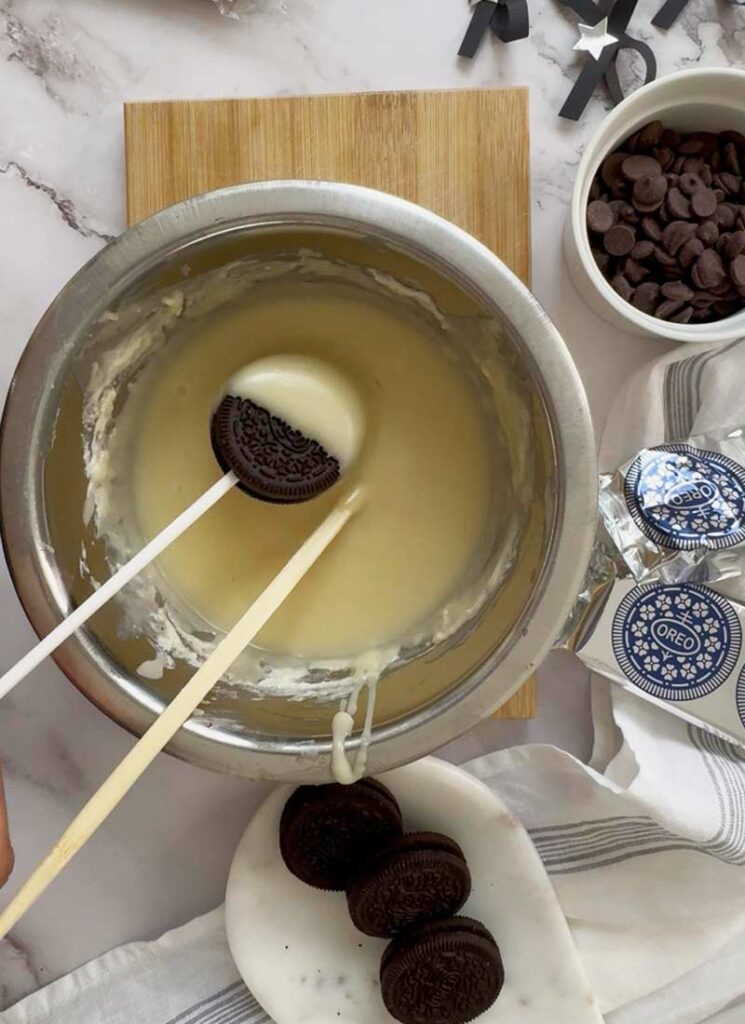
3. Dip each Oreo into the melted white chocolate with the stick already inserted, gently tilting and turning until it’s fully coated on all sides.
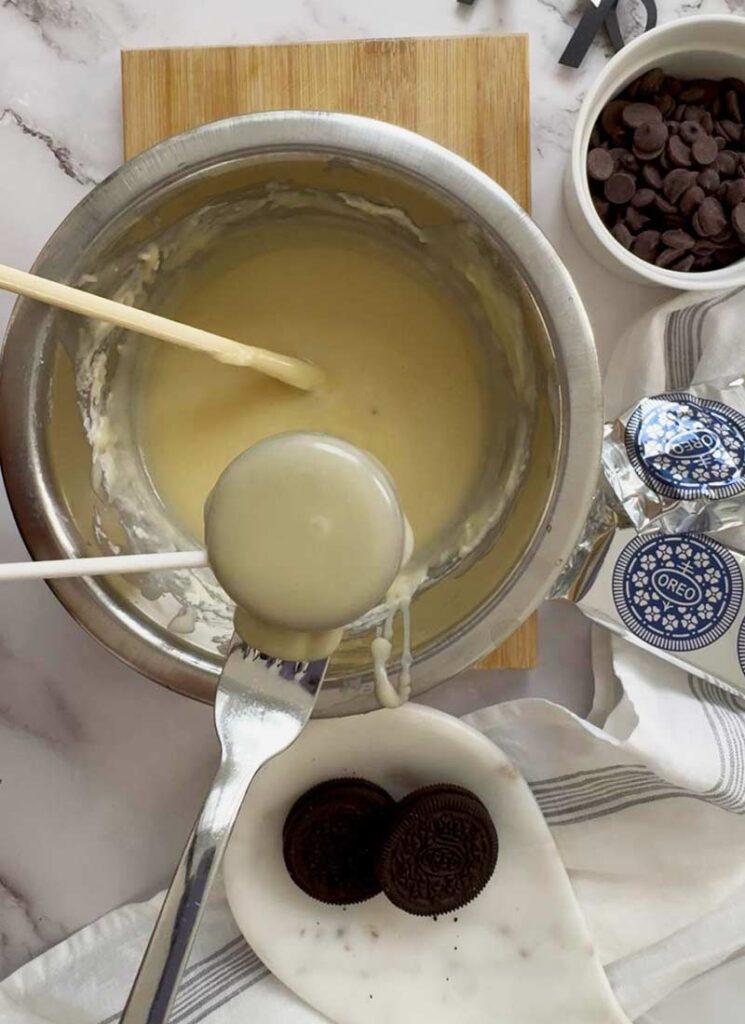
Tip: Use a fork or spoon to help guide the chocolate over any bare spots, and let the excess drip back into the bowl before setting the pop down to dry.
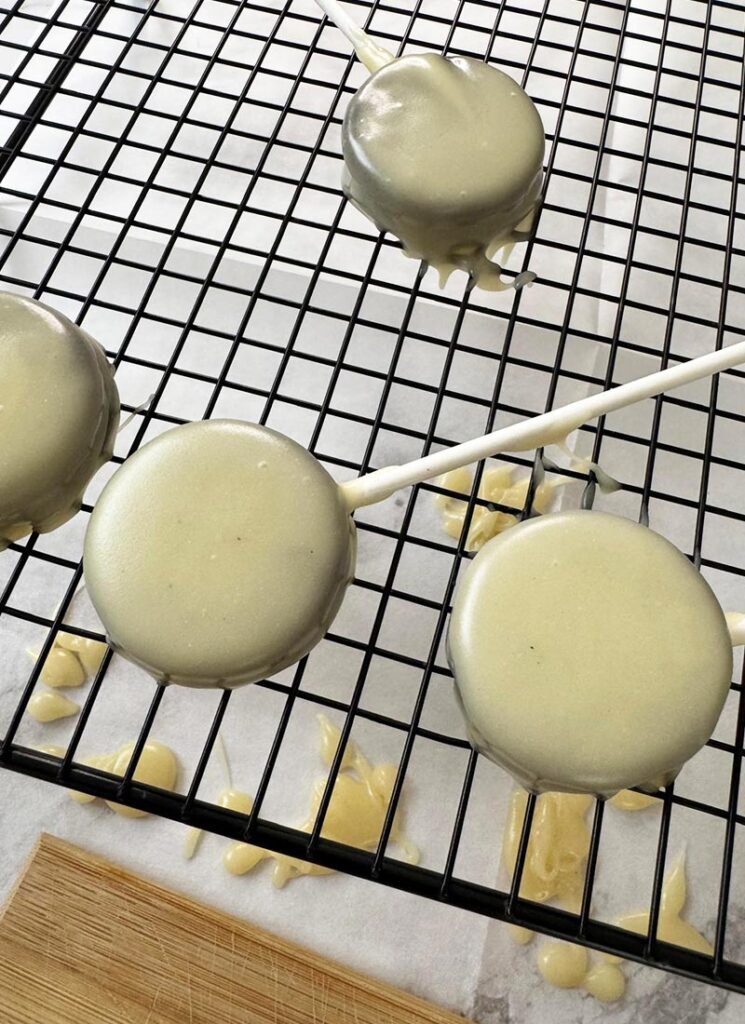
4. Set the pops on a parchment-lined baking sheet if you want the backs to dry flat. For a smooth finish all around, place them upright in a cake pop stand.
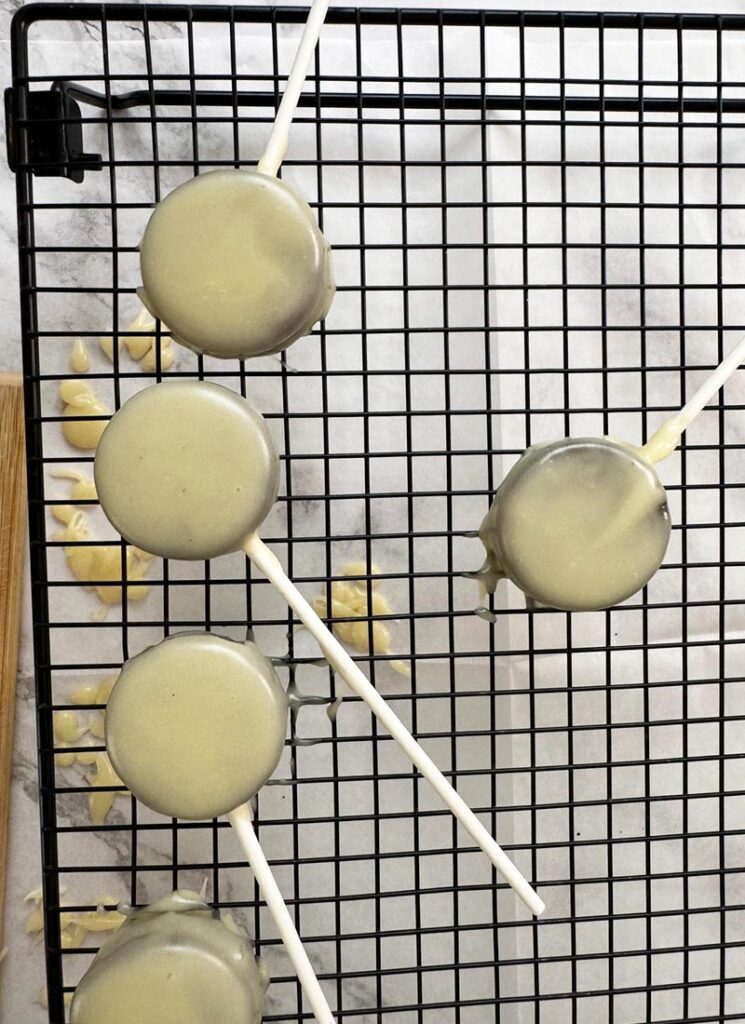
5. Let the pops sit at room temperature for about 15-20 minutes, or until the coating feels firm. You can also pop them in the fridge for 5-10 minutes to speed things up. Just avoid leaving them in too long, or the chocolate might develop condensation.
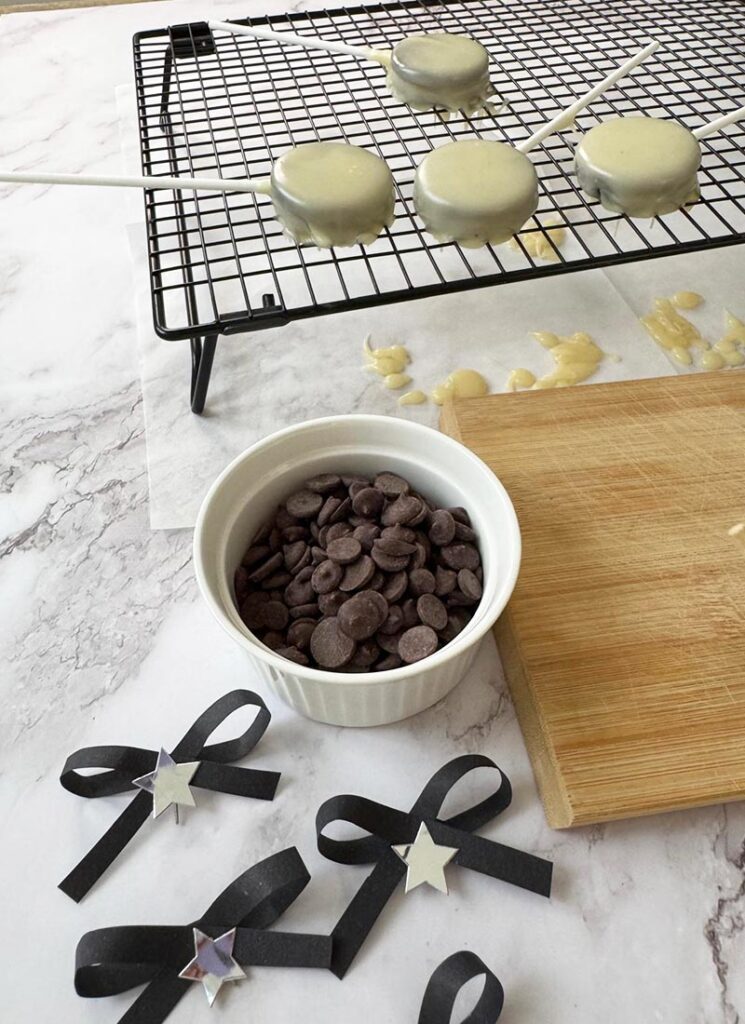
Optional: While the pops are setting, you can make little bow ties for decoration. I used black ribbon and added tiny silver star embellishments for a bit of sparkle, but paper cutouts or edible fondant bows work too.
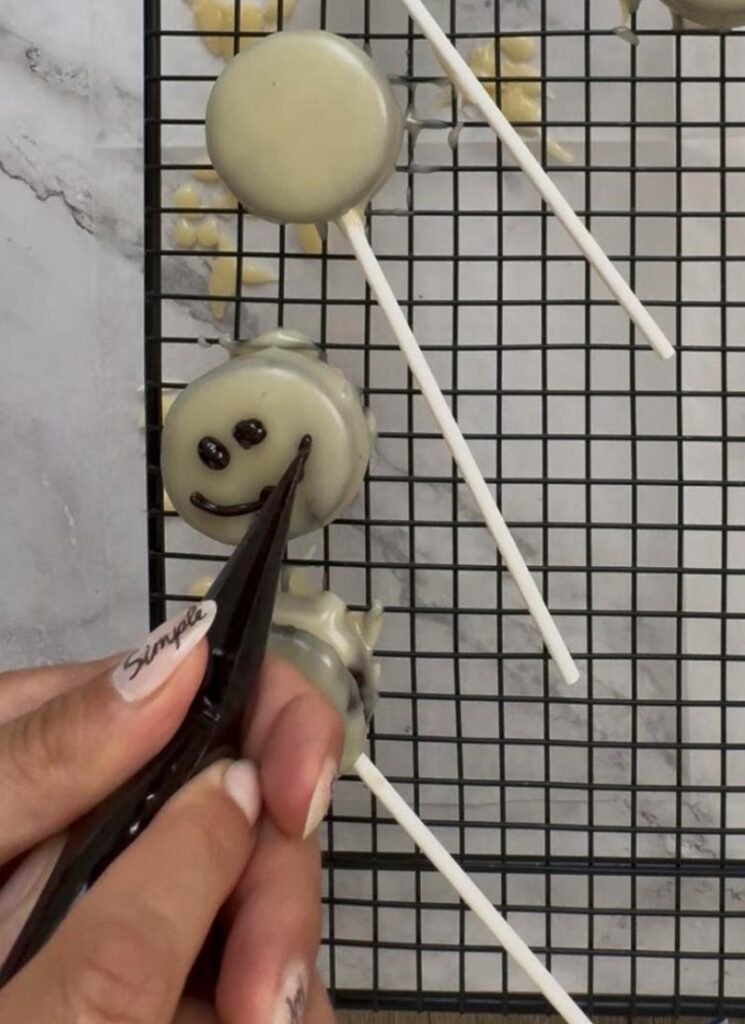
6. Once the coating is set, pipe on the dark chocolate details. Start with the eyes, add the tiny nostrils, and then draw his stitched smile. Take your time for the best results.
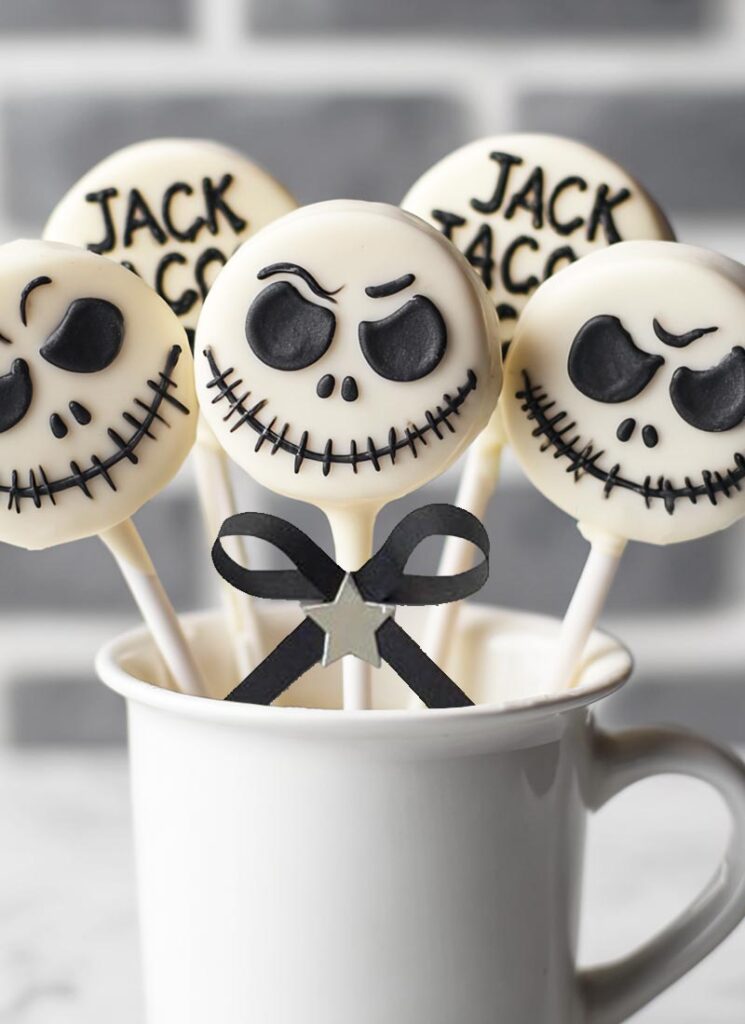
7. Let the chocolate details set for another 5 minutes at room temperature (or give them a quick chill). Now they’re ready to serve, wrap as party favors, or line up on a spooky dessert table.

Jack Skellington Oreo Pops – FAQ & Tips
Q: My chocolate chips aren’t melting smoothly. What can I do?
A: Add a tiny splash of neutral oil (like vegetable or coconut or whipping cream) while melting, and stir often. If you’re using the microwave, melt in short bursts and keep the heat low. White chocolate, in particular, burns easily.
Q: The cookies keep splitting when I insert the sticks. Help!
A: Twist the stick gently into the cream center instead of pushing straight through. If they still split, separate the Oreo, spread a little melted chocolate inside, add the stick, then sandwich it back together before dipping. The chocolate works as “edible glue.”
Q: How do I keep the coating smooth instead of clumpy?
A: Make sure your bowl is deep enough for dipping and that the chocolate is fully melted. Let excess chocolate drip off before setting the pop down so it doesn’t pool at the bottom.
Q: My dark chocolate details are messy. How do I make Jack’s face look neat?
A: Pipe slowly and keep the tip close to the cookie surface. If you mess up, just scrape off the chocolate with a toothpick before it sets and try again. For extra precision, snip the piping bag tip very small.
Q: Can I make these ahead of time?
A: Yes! You can make them 1-2 days in advance. Store in an airtight container in a cool, dry spot (or the fridge if it’s warm). Just avoid stacking them to prevent smudging the faces.
Helpful Extras for Making Jack Skellington Oreo Pops
While you can absolutely make these pops with basic kitchen tools, a few little extras can make the process smoother (and a bit more fun).
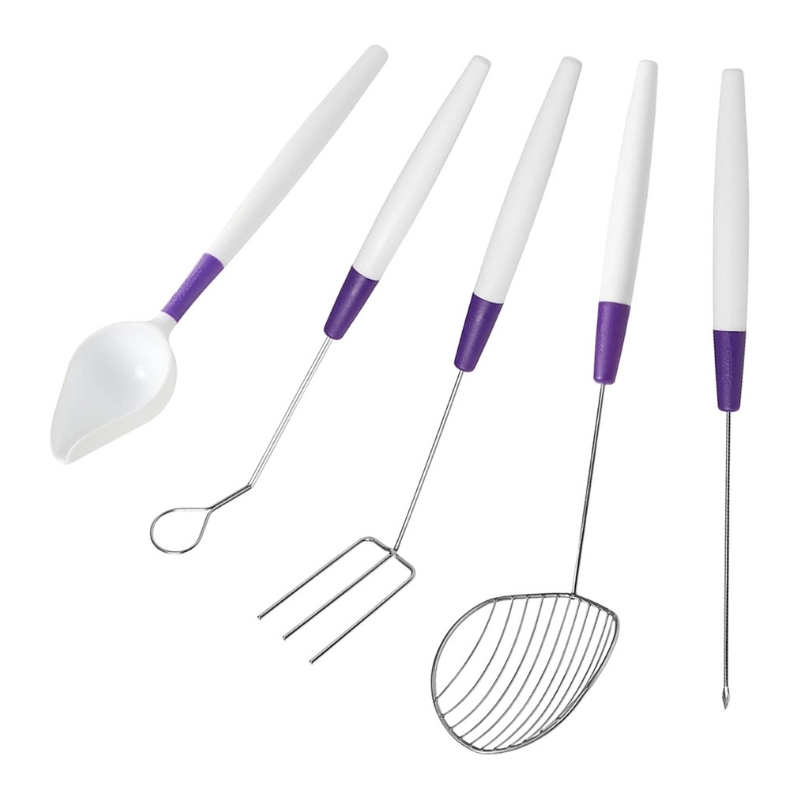
These help lift the Oreos out of the chocolate without leaving marks, and they’re easier to handle than a regular fork.
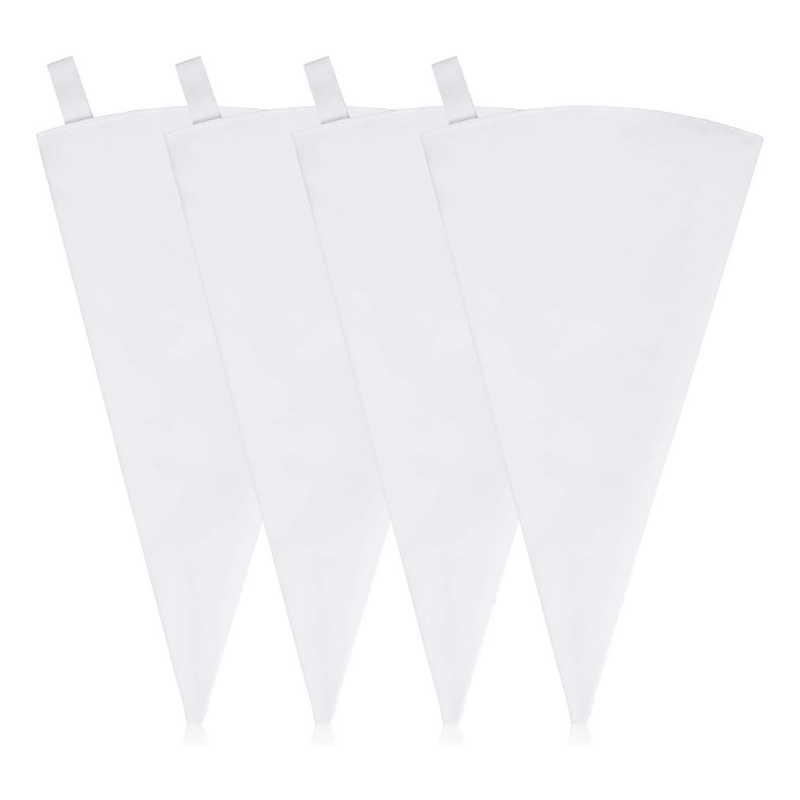
Sturdier than disposable ones, so your dark chocolate details come out cleaner.
Perfect for wrapping each pop individually. They keep the chocolate smudge-free and make them easy to hand out as party favors.
I used what I had on hand for this batch, but if you’re making a big batch for a party, these extras can really help you save time and make the pops look even more impressive.
Planning to try these? Bookmark this recipe or send it to a friend so you can make them together.

Jack Skellington Oreo Pops
Ingredients
- 20 oz 570 g white chocolate chips
- 6 oz 170 g dark chocolate chips
- 24 pieces Oreo cookies – regular or Double Stuf if you want a thicker bite
Instructions
- Melt white and dark chocolate in separate bowls, using a double boiler or microwave, and transfer the dark chocolate to a piping bag.
- Gently twist a popsicle stick halfway into the cream center of each Oreo.
- Dip each Oreo into the melted white chocolate, tilting and turning until fully coated.
- Place coated pops on a parchment-lined baking sheet for flat backs or in a cake pop stand for smooth all-around coating.
- Let the pops set at room temperature for 15–20 minutes or chill in the fridge for 5–10 minutes.
- Pipe on Jack’s face with the dark chocolate, adding eyes, nostrils, and a stitched smile.
- Allow the details to set, then serve, wrap as favors, or display on your dessert table.