Behind every great appetizer table is a mix of good planning and a whole lot of creativity. If you want your Friendsgiving setup to be the one everyone remembers, the secret’s in the small details, from how you arrange the food to the colors you bring in. To make things easy, I’ve rounded up simple, doable tips on how to build a Friendsgiving appetizer table that wows. Scroll through and get inspired!
Make Your Appetizer List
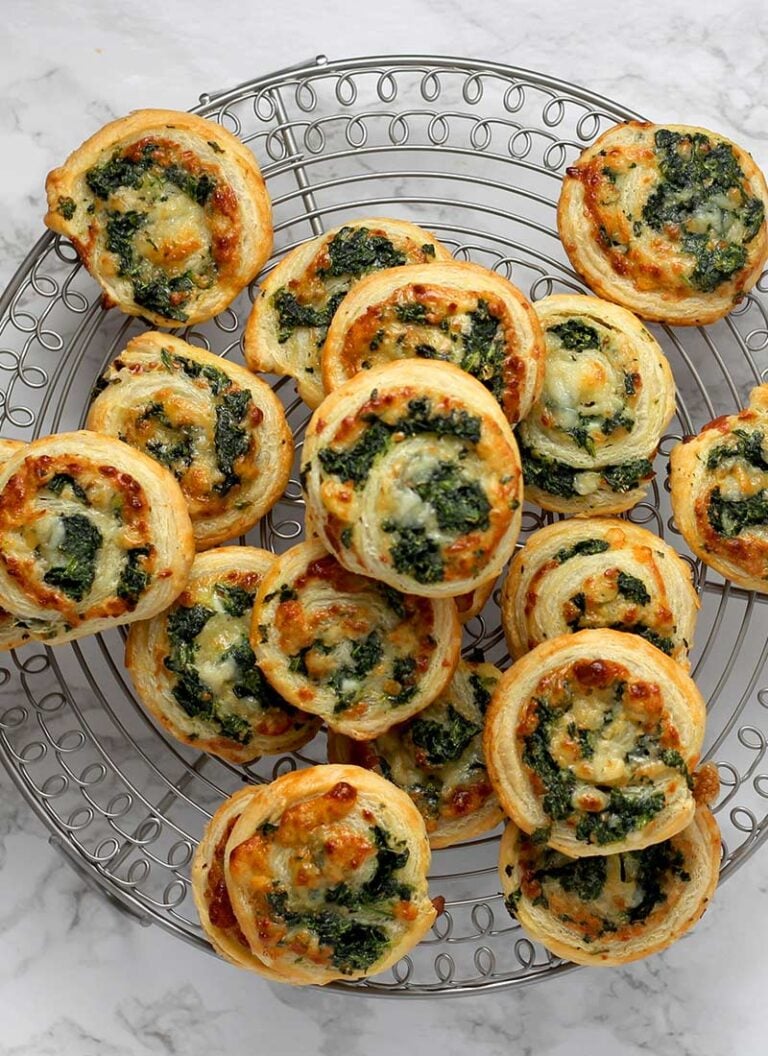
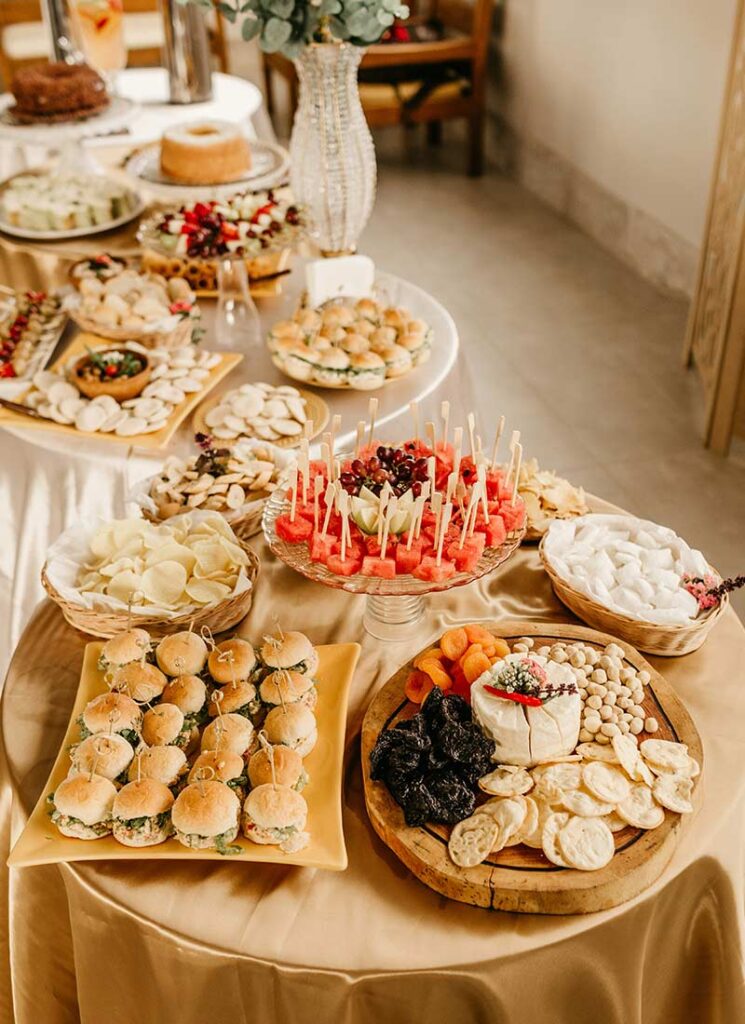
Whenever I start building a Friendsgiving appetizer table, I always begin with the food. It sets the tone for everything else, from the colors to the layout, even the serving dishes I’ll use. It helps to jot down ideas first so the spread feels cohesive instead of like a random mix of snacks. For variety, I usually go for a few creamy dips (whipped feta or pumpkin hummus), something crunchy (breadsticks are a winner), a hearty option (mini sliders or crostini), and a fresh element (either fruit or veggie cups). That balance makes the whole table look abundant, colorful, and totally irresistible.
Set the Mood with a Theme and Color Palette
Deciding on a theme and color palette sets the tone for your entire Friendsgiving appetizer table. It keeps everything cohesive and makes shopping for décor and ingredients so much easier since you’ll know what to look for. Whether you’re going for rustic farmhouse, cozy boho, or something modern and refined, let your theme guide your colors. Classic fall hues like orange, rust, gold, and deep green always work beautifully, but don’t be afraid to mix in unexpected shades like plum or cream for a fresh twist.
Theme ideas to try:
Rustic Farmhouse – Wooden crates, burlap runners, and warm, earthy tones set the mood. Add touches of greenery or eucalyptus garlands for that fresh-from-the-farm feel. The result is a cozy, abundant setup that feels homey and effortlessly welcoming.
Modern Minimalist – Sleek boards, monochrome colors, and simple florals for a clean look. Think clean lines, simple arrangements, and uncluttered styling for a calm yet elevated Friendsgiving look.
Related: Fancy Wine & Charcuterie Party Ideas for Hosting Friends

Boho Picnic – Layered fabrics, woven baskets, and a mix of fresh fruits and cheeses create that relaxed, free-spirited vibe. Add soft florals, patterned linens, and neutral tones for an easygoing yet beautiful setup that feels straight out of a fall picnic daydream.
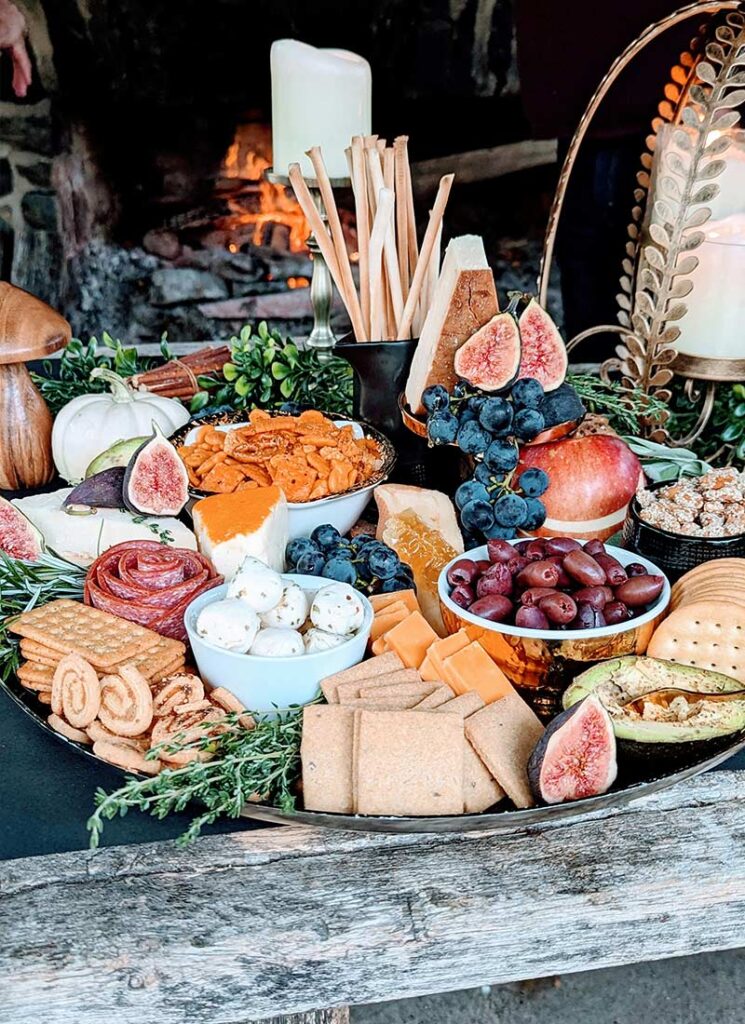
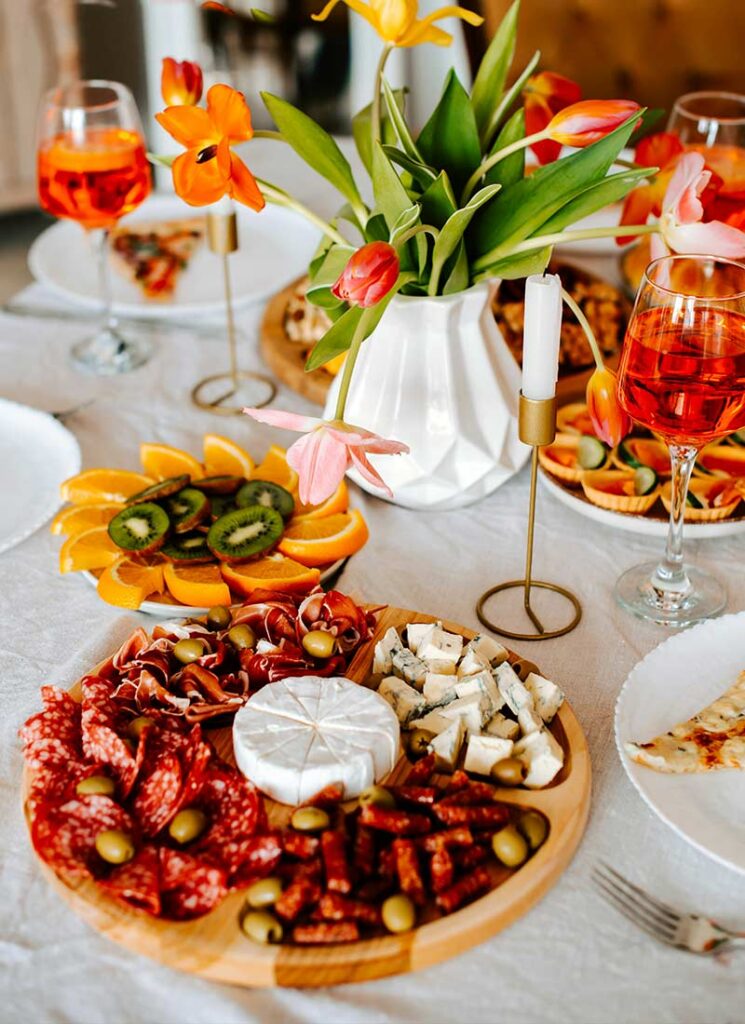
Harvest Chic – Deep fall colors, gold accents, and polished details give this setup its elegant charm. Start with a large round tray or metal platter as your base, then layer in warm textures like wood and linen. Finish with seasonal fruits for a cozy yet sophisticated look.
Related: Friendsgiving Grazing Board Ideas Everyone Will Love
Plan for Flow and Function
It’s just as important to consider how guests will move around the table so everyone can grab food comfortably and keep things flowing. If you’re setting up indoors, make sure there’s enough space around the table for people to move easily. For outdoor setups, go for a layout that lets guests walk all the way around without bumping into each other. As a general rule, keep dips, plates, and napkins near the edges for easy access, and place taller trays or platters in the center to create balance.
Build Your Layout: Tiered or Flatlay
Choose your visual story: a tiered layout for height and elegance, or a flatlay spread that screams abundance. No matter which you choose, your Friendsgiving appetizer table will look stylish and photo-ready!
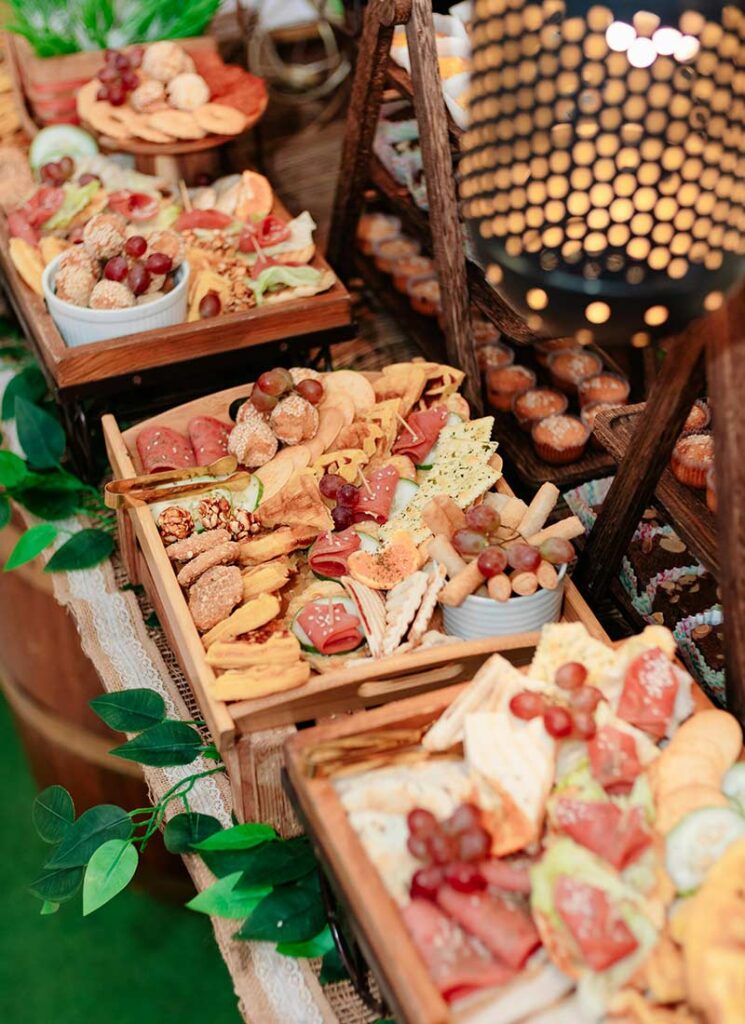
Layering your appetizers at different heights instantly adds dimension and makes your table look fuller. A tiered display helps maximize space, which is ideal if you’re working with a smaller table. You can also stack a few wooden boxes or crates to create height, but double-check that they’re stable before adding food. Going for an elevated layout is a smart way to leave room for décor, candles, or flowers while keeping everything easy to reach.
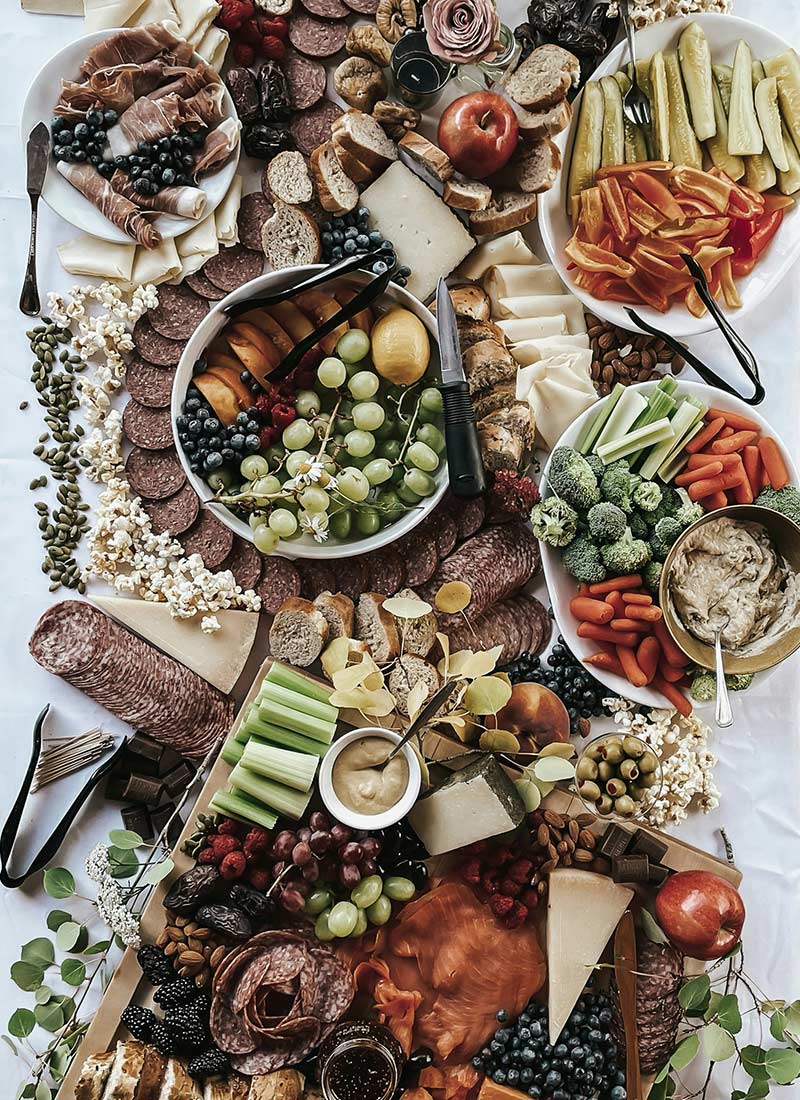
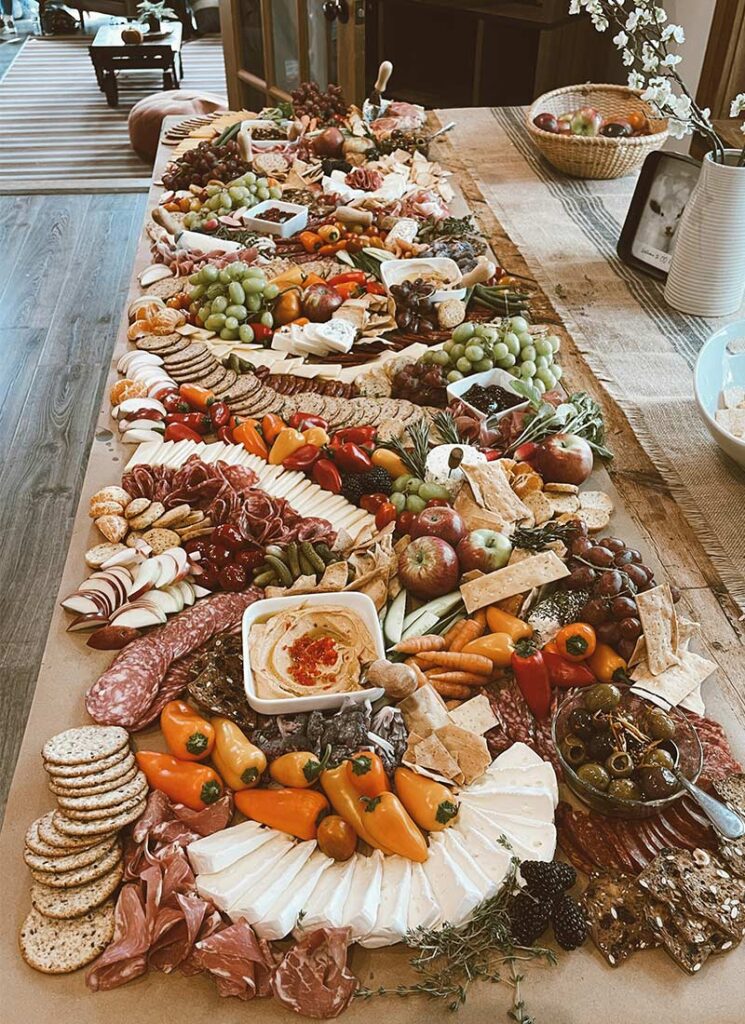
If you want your Friendsgiving appetizer table to feel abundant, a flatlay is the way to go. This style gives guests a full view of all the delicious details and lets you play with creative arrangements. Make sure to line your surface with parchment or kraft paper for easy cleanup and a polished look!
Choose Functional Serveware (or Skip It Smartly)
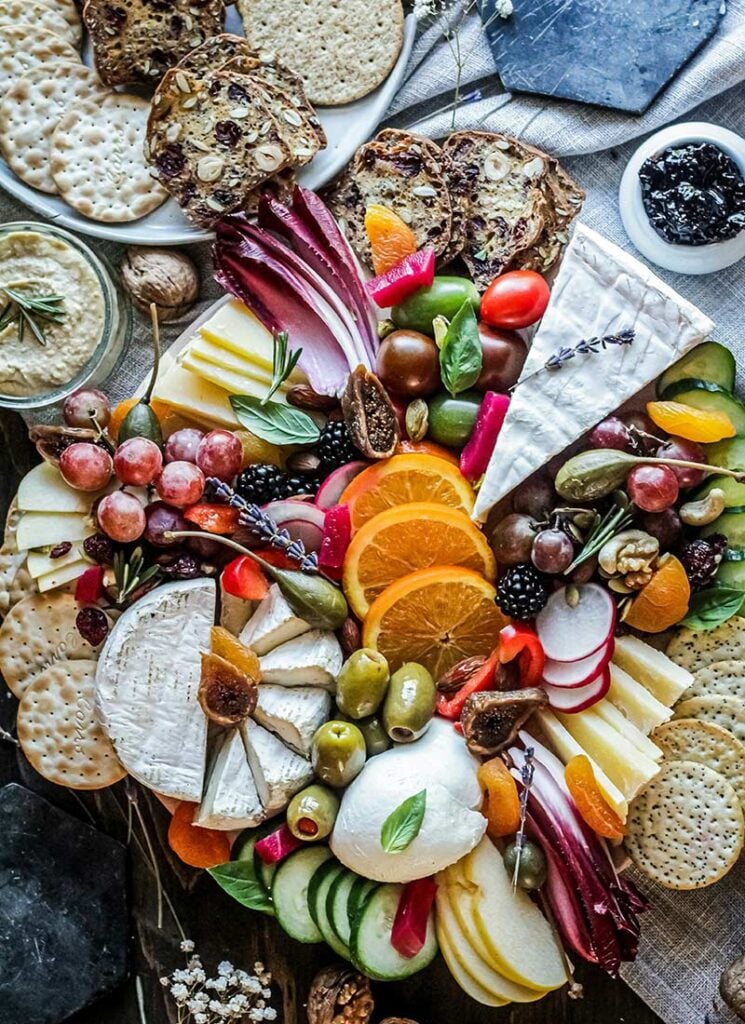
You don’t need fancy platters or matching bowls to pull off an amazing Friendsgiving appetizer table. Plus, you can use what you already have and still make it look intentional. Boards work perfectly for cheeses and meats, while small dishes are great for dips or nuts. Add mini spoons or tongs for anything saucy or crumbly to keep things neat. And if you’d rather skip serveware altogether, arrange everything directly on lined boards or trays for a relaxed, graze-as-you-go feel that still looks beautifully put together.
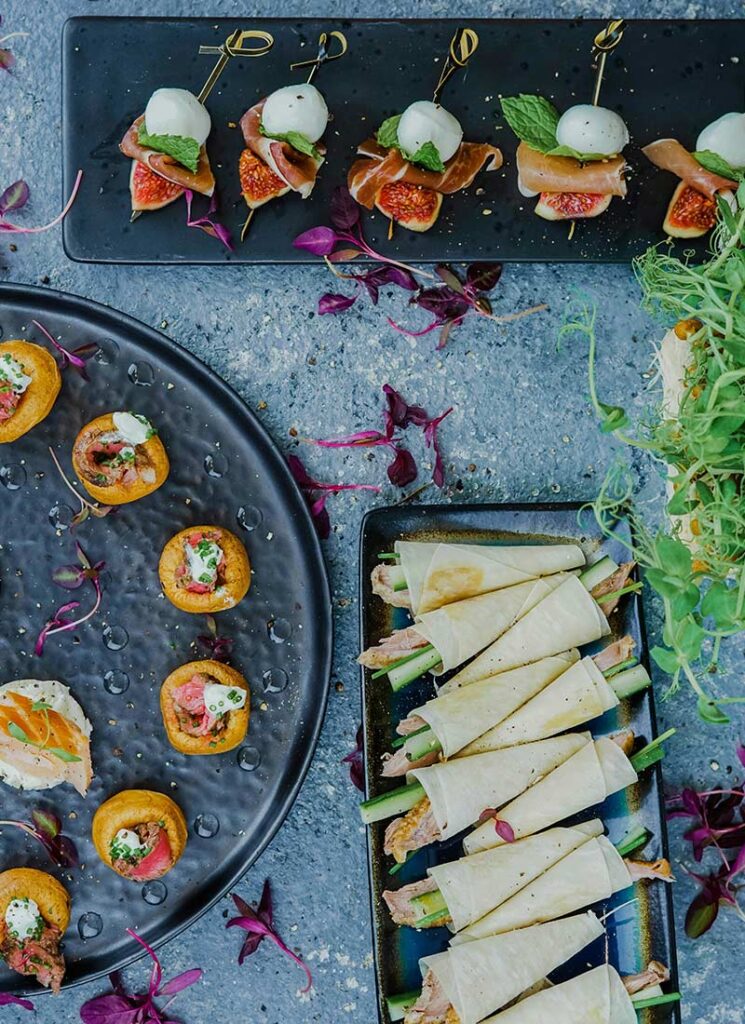
Create Appetizers in Individual Servings
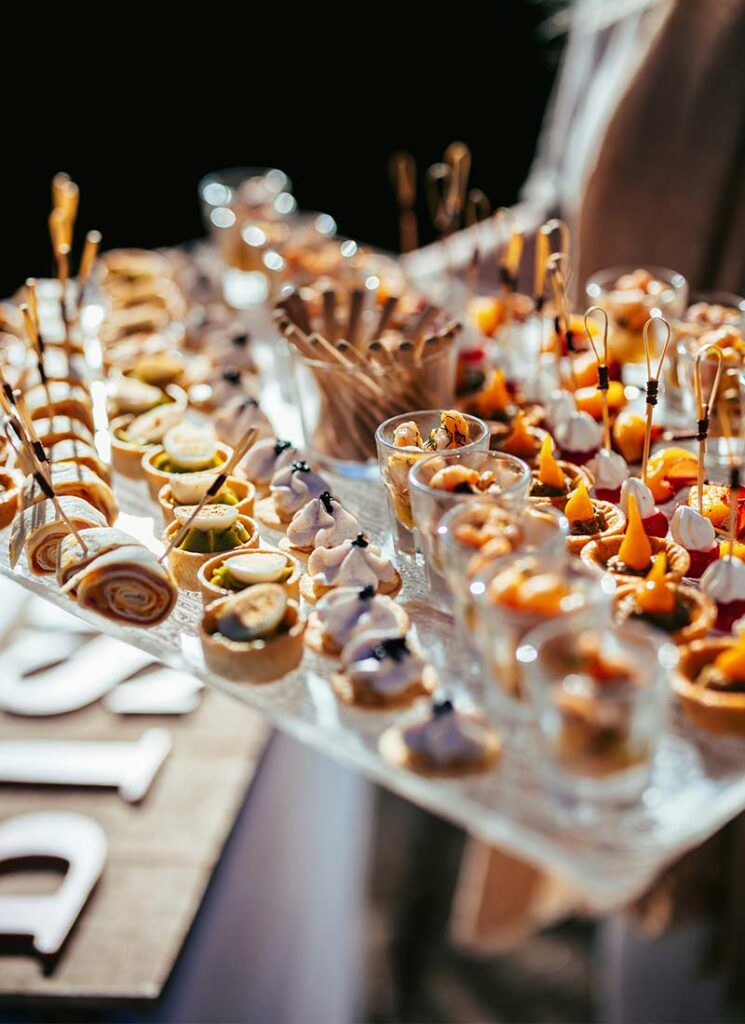
Another way to elevate your Friendsgiving appetizer table is to make individual portions of appetizers. This keeps things tidy and makes everyone feel a little fancy. Try filling phyllo cups with dips or salads for a mess-free bite. Bamboo skewers are great for sliders or antipasto, making it easy for guests to grab and go. For layered bites, use small cups or shot glasses to keep everything neat and stylish.
Add a DIY Appetizer Bar
A build-your-own bar instantly makes your Friendsgiving appetizer table more fun and interactive. Set out a variety of chips, salsas, and toppings (like guacamole, pico de gallo, roasted corn, and cheese crumbles) so guests can mix and match their favorites. You can also try a crostini bar with different spreads, or even a mini bruschetta station. It’s one of the easiest ways to make your table feel festive without piling on extra prep work.
Label Everything for Easy Grazing
Add labels so everyone knows what they’re grabbing! It’s a small detail that makes a big difference, especially for guests with allergies or dietary preferences. The example above uses butcher paper with handwritten labels for a cozy, handmade feel, but you can also use kraft tags, mini chalkboards, or simple toothpick flags. It keeps your Friendsgiving appetizer table neat and easy to navigate.
Style It Cozy Yet Elegant
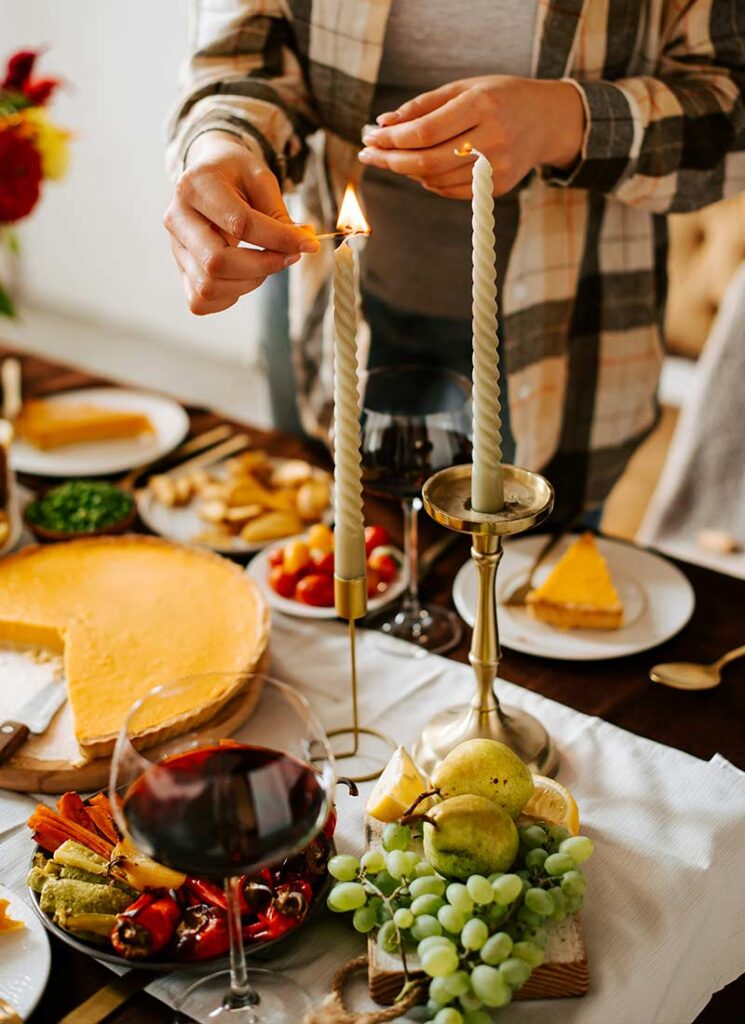
Don’t forget the finishing touches! They’re just as important as the food itself. Candles, fairy lights, and soft textures to make the space feel warm and welcoming. You can also add small seasonal accents like mini pumpkins or acorns to bring a touch of fall charm. If you can get fresh flowers, place them in a simple vase to instantly elevate the table. The goal is to make everything feel inviting yet refined!
Related: 15 Fancy Friendsgiving Table Setting Ideas on a Budget
Add a Drink Pairing
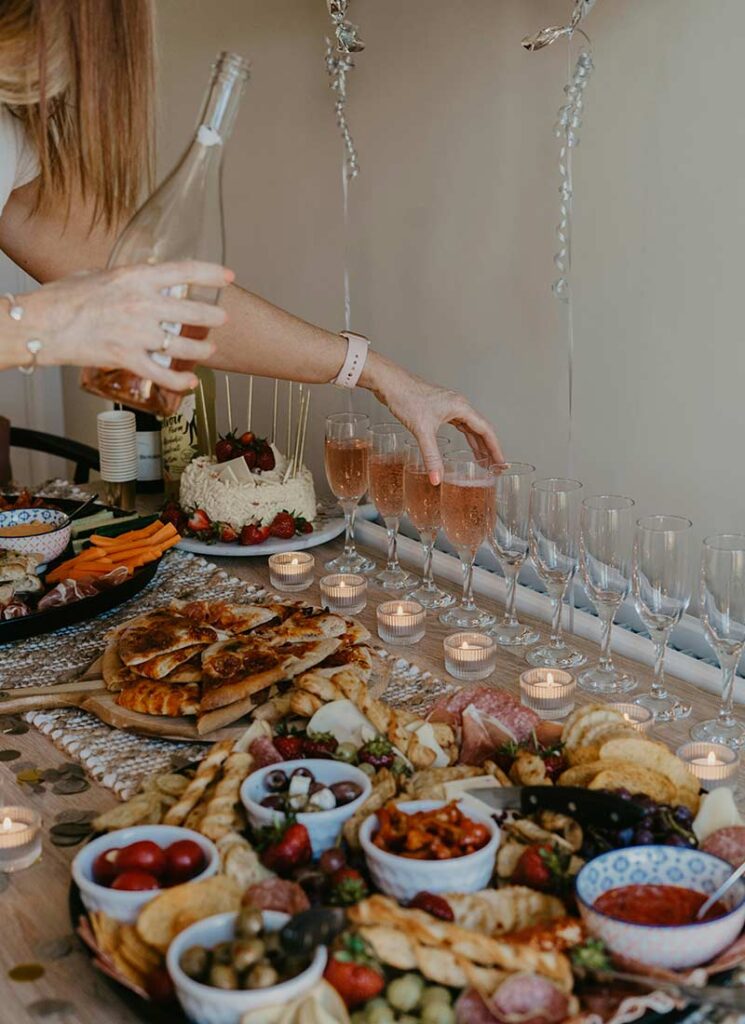
Totally optional, but a signature drink can make your Friendsgiving appetizer table unforgettable. Choose something that pairs well with your menu, like a light white wine, apple cider sangria, or a sparkling mocktail for a non-alcoholic option. The right drink not only ties the flavors together but also adds a festive touch that makes the whole setup feel thoughtfully planned.
Friendsgiving Appetizer Table: DIY & Make-Ahead Tips
How much food should I plan for my Friendsgiving appetizer table?
If it’s before dinner, plan about 3-5 bites per person. If appetizers are the main meal, aim for 8-12 bites each. Keep a little extra on standby. A full table always looks more inviting than an empty one.
How far in advance can I prep my appetizers?
A day ahead is totally fine for dips. Just keep them in sealed containers and give them a quick stir before serving. Anything that needs crunch (like crostini or pita chips) is best made the morning of, so it stays nice and crisp.
How long can appetizers sit out?
Most cold items like cheese and fruit can hang out for up to 3 hours safely. For longer parties, swap in fresh batches or keep backups chilled until you’re ready to refill. A rotating spread keeps everything looking (and tasting) fresh.
Should I do a test layout before the big day?
Yes, and it’s a total game-changer. Set everything out once (from boards to stands to bowls) to test spacing and balance. It helps you see where to add height or color before guests arrive, so you’re not scrambling mid-setup.
What if I don’t have a huge table or space?
You don’t need one! Try setting up on a kitchen island, coffee table, or long cutting board. A smaller layout can look just as stunning. Just scale down your portions, keep it one-sided for easy reach, and lean into cozy styling.
Final Thoughts
You don’t need to be an expert in hosting to create a Friendsgiving appetizer table your guests will love. Planning helps, especially when it comes to choosing the menu and layout, but don’t be afraid to get creative too! Even the smallest touches (like thoughtful colors, textures, or plating) can make a big difference. Ultimately, it’s all about creating a space that feels warm, welcoming, and full of good food. That’s what makes Friendsgiving an unforgettable celebration for everyone!